Ready File Tools · 10 October 2026
Separate three different kinds of upload rules
An upload form can specify a file format, a maximum file size and pixel dimensions. These are different constraints. “JPG under 500 KB” says nothing about width. “Maximum 1200 × 1200 pixels” says nothing about bytes. Write each requirement down before changing the image.
| Rule on the form | What to set or check | Common mistake |
|---|---|---|
| JPG / PNG / WebP | Output format | Renaming the extension without converting |
| Maximum KB | Target file size | Confusing KB with pixel dimensions |
| Maximum width / height | Pixel limits | Assuming a maximum creates an exact crop |
Understand what “preserve proportions” means
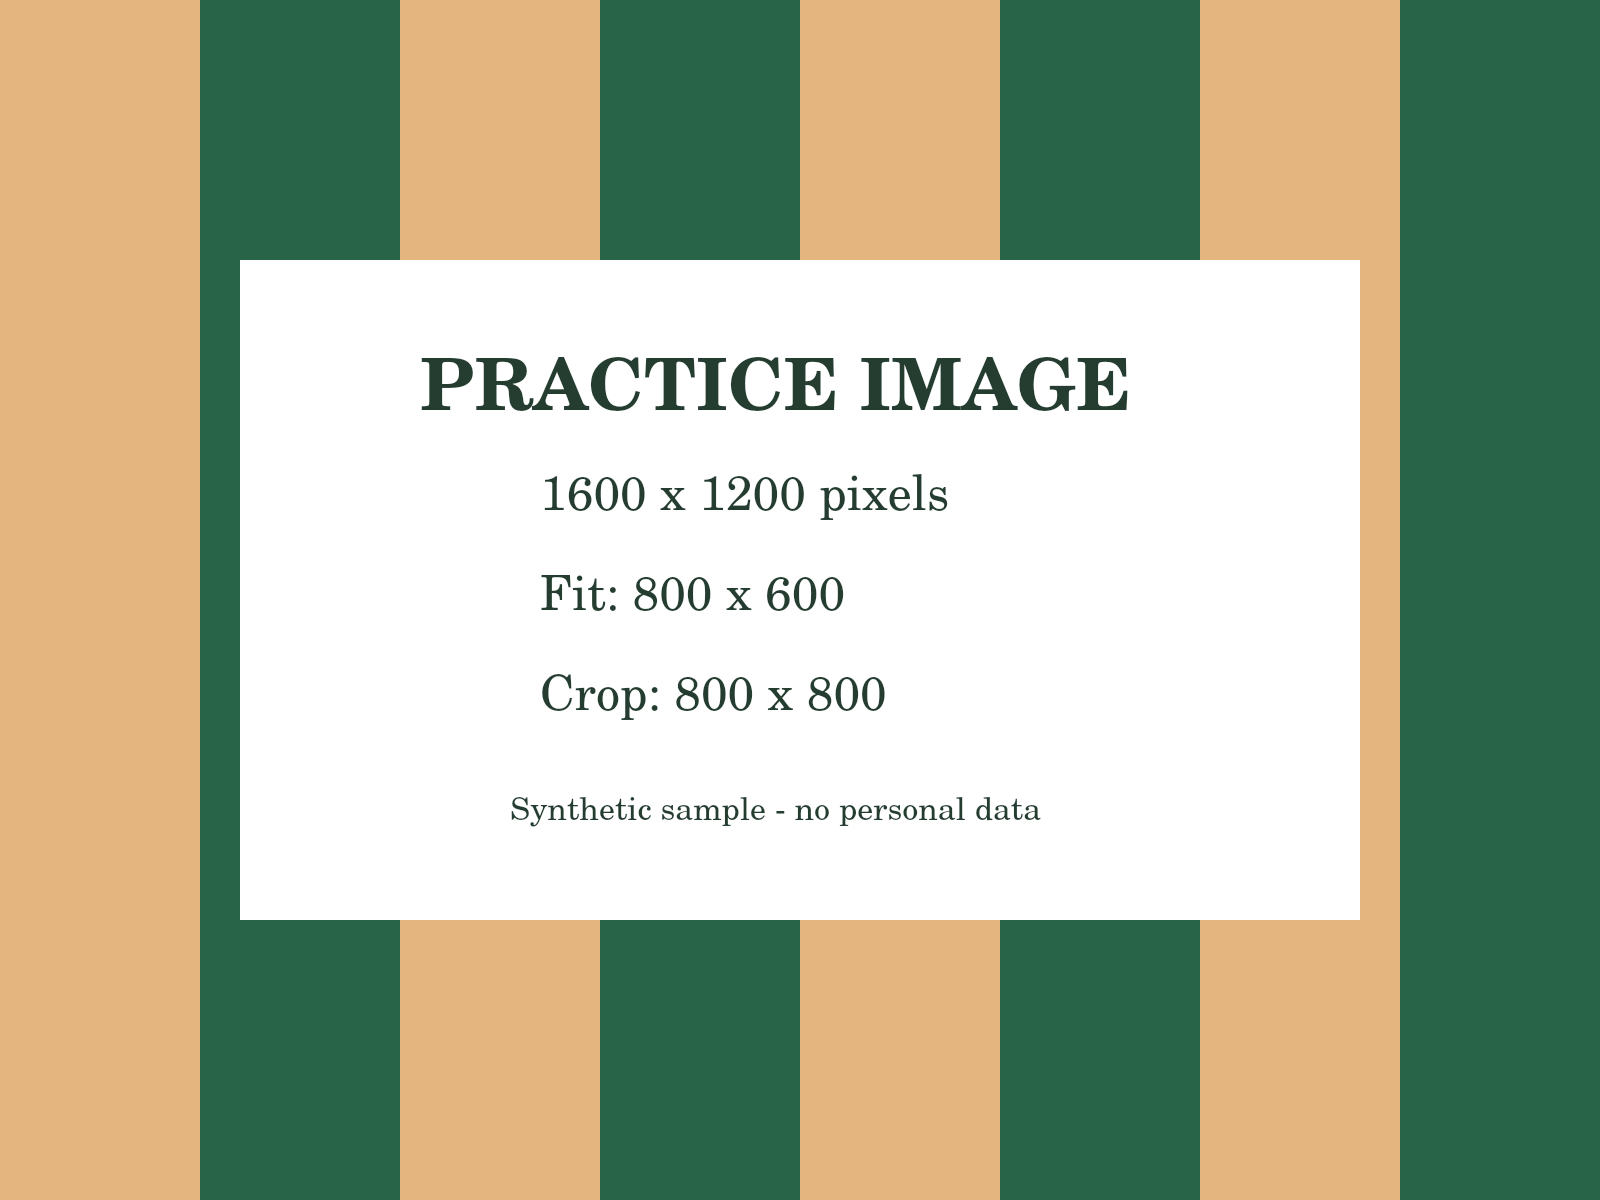
Ready File Tools reduces dimensions without stretching the image. A 1600 × 1200 photo has a 4:3 aspect ratio. If both maximum width and height are set to 800, the image becomes at most 800 × 600, not 800 × 800. That is useful when the destination accepts any image inside a bounding box. It is not the same as creating a square profile photo.
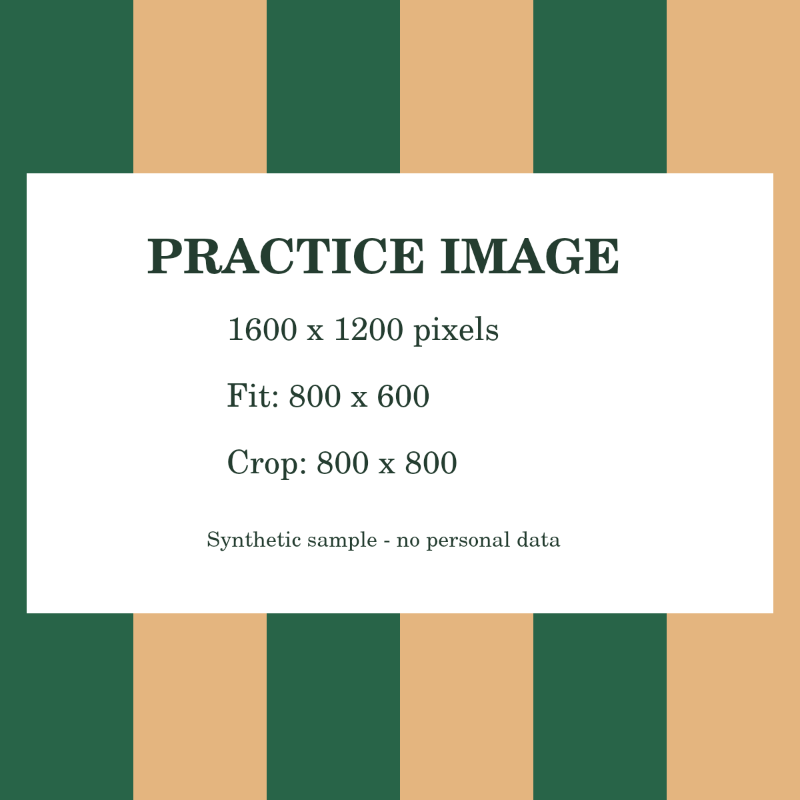
If a form demands exactly 600 × 600 pixels, you normally need to crop to a square first, then resize. A maximum-dimension tool should not distort a rectangular photo merely to hit an exact square.
Choose format before chasing a tiny file size
JPG is usually efficient for photographs. PNG can retain transparency and sharp graphic edges but may be much larger for a photo. WebP can be efficient where the destination explicitly accepts it. Do not choose a format the receiving site does not list.
Reduce dimensions before destroying detail
When an image is far larger than the destination needs, shrinking the pixel dimensions can reduce file size while keeping useful clarity. A 4000-pixel photo uploaded into a form that displays it at 1000 pixels carries more detail than the form can show. After resizing, inspect text, faces and thin edges at the size you expect the recipient to see.
What happens when the KB target is very small
Compression has limits. A target that is too aggressive may require substantial quality reduction or smaller dimensions, and some combinations may not be achievable while preserving a useful image. Treat the target as a constraint to meet, not as a goal to beat by the largest possible margin. A 480 KB result for a 500 KB limit can be preferable to a 90 KB result that makes text unreadable.
Verify the downloaded file, not the source
After processing, use File checker on the downloaded image. Confirm its format, byte size and dimensions. This matters because it is easy to accidentally select the original photo again when uploading. Give the finished file a clear name or place it in a separate folder if your device makes the two versions hard to distinguish.
A safe order of operations
- Read the receiving form's rules.
- Select the required output format.
- Enter the maximum dimensions when they are specified.
- Set the file-size limit.
- Create and download the result.
- Open the finished image and inspect important details.
- Check the finished file's size and dimensions before submitting.
Practice image